|
One of my family's guilty pleasures is pasta. I usually cook it at least 2 times a week! I love taking traditional recipes and adding my own little twist to it! So this weekend when we couldn't decide between chicken parmesan or stuffed shells, I knew this was a perfect opportunity to mix them together. As you are starting to get the picture here, you know I go for easy and quick recipes. It's just easier especially with the baby and when my husband is occupied doing something for me around the house...Bless his heart. We have had several busy weekends lately, from moving to my volleyball tournaments to weddings. This month has already been crazy and it literally just started! Whew!! So when my husband mentioned that he wished he could just relax for a little bit, I knew that combining two of his favorite dishes into one might do the trick! Chicken Parmesan Stuffed Shells and a Cheesecake Bar for the win and of course the Cowboys and the Astros ( this past week!! ) p.s. sorry I'm not as fancy this time with all of my pictures, I have a teething baby who wants to be held and has to see his mommy the whole time.... Chicken Parmesan Stuffed Shells 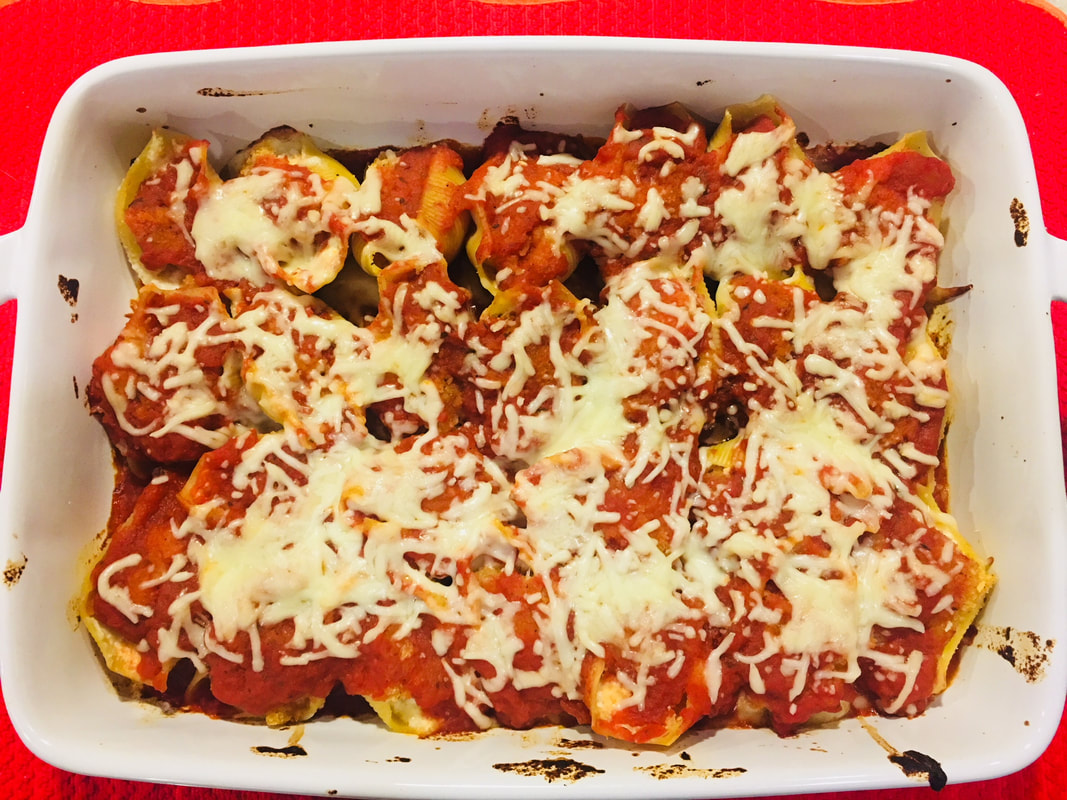 This may look all fancy and seems like it may take up your whole night, but it literally is one of the easiest dishes that I have made. This was also the first time that I have ever made stuffed shells of any kind, so I was extremely nervous and just hoping for a miracle that they would come out perfectly! We had a few friends over to watch the game, and by the end of dinner, I only had two left over, so I know that was a good sign. The chicken was crispy, the filling was luscious, the noodles were soft except the edges, but that gave the noodles a nice crisp texture which made them heavenly. Overall probably one of the top ten dishes I have made! Here we go! Ingredients 1lb of Jumbo Pasta Shells ( I didn't use all of them) 3-4 fully cooked breaded chicken breasts ( I used the Tyson brand) 15oz Ricotta Cheese ( a 1lb tub is fine too) 1 cup of shredded parmesan cheese 3 cups of shredded mozzarella cheese + more for the topping 1 Tbs of Italian seasoning 1 Tsp of garlic salt or powder ( they both do the trick) 1 jar of your favorite pasta sauce ( I used marinara) Directions 1.Preheat your oven to 400 degrees 2. Bake the chicken accordingly( preheat back to 400 if temp is different for the chicken) Then once chicken is finished cut into 1-2inch pieces. 3. Bring a large pot of water to boil and then salt the water 4. While the water is heating, you can mix the cheeses and seasonings together in a bowl. Once it is incorporated well, I put the mixture in a gallon size Ziploc, and cut the corner. 5. Place all of the noodles in the boiling water and only boil them for 7 minutes!! This is crucial! Drain and rinse the noodles, then let them cool. After they cool down from the cold water rinse, just get a paper towel and dry them as much as you can. 6. spray the bottom of a 13x9 in baking dish 7. pour and spread about half of the jar of sauce on the bottom 8. pipe the filling in the shells and stuff a piece of the chicken in each one 9. pour the remaining half of the sauce on top of the shells and sprinkle even more mozzarella on top. 10. Bake for 25 minutes To top off this amazing dinner, I decided to do a build-your-own cheesecake bar. I cheated because I ran out of time and used The Cheesecake Factory box mix. Let me tell you, it was pretty good! For the topping bar, I used those nifty little sundae toppings in the ice cream section at the grocery store. I did marshmallow, hot fudge, and caramel for mine. My husband did strawberry and chocolate. The possibilities were endless and oh so delicious!
I hope you enjoyed this weeks edition, and I look forward to next week!!
0 Comments
 Raise your hand if your husband absolutely hates hanging up curtains, wall décor, etc... Ummm... both of my hands are in the air! I don't blame him, I can be a little extra when it comes to decorating the house. He can easily be persuaded by anything that I bake, so I decided to bake while he hung things up. He loves orange and cream flavored treats, and I wanted to test out my new tiffany blue Mini Bundt cake pan from The Pampered Chef!  Mini Fluted Cake Pan $24 https://www.pamperedchef.com/shop/Bakeware/Bake+to+Gift+Collection/Mini+Fluted+Cake+Pan/1602 I decided to put a little twist on those famous chain, but oh so delicious Bundt cakes! Orange and Cream Bundt Cake  Gather all of your ingredients and preheat your oven to 350 degrees.
This is seriously one of easiest cakes that I make!! You literally throw everything into the bowl and mix it up! Which is great because my 6 month old Bexar was keeping me company and "helping" me out while daddy was hanging curtains up! After you have a smooth texture to the batter, fill your cake pan. For the mini Bundt cake pan, I filled each up with about 6 tablespoons. I love the bright color of these darlings! 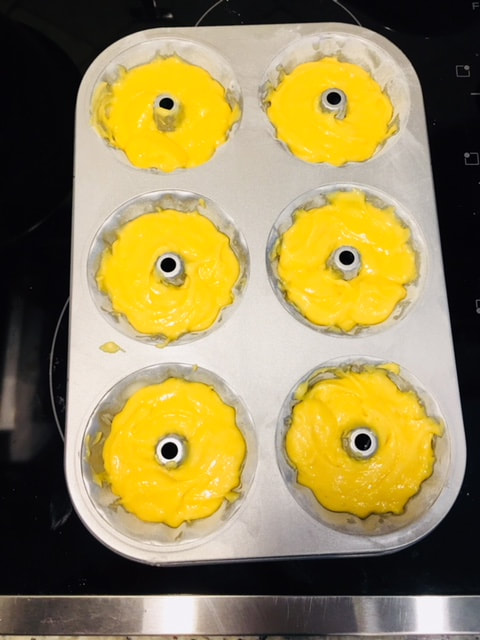 Before you throw these in the oven, be sure to place a foil sheet or a cookie sheet under this just in case they flow over. Nothing is worse than having baked on gunk in your oven. I am particularly nervous about it because my oven is new and I'm not ready for our first kitchen disaster! Bake these beauties for approx. 25-30 min for the small cakes, and 35-40 for a big cake. 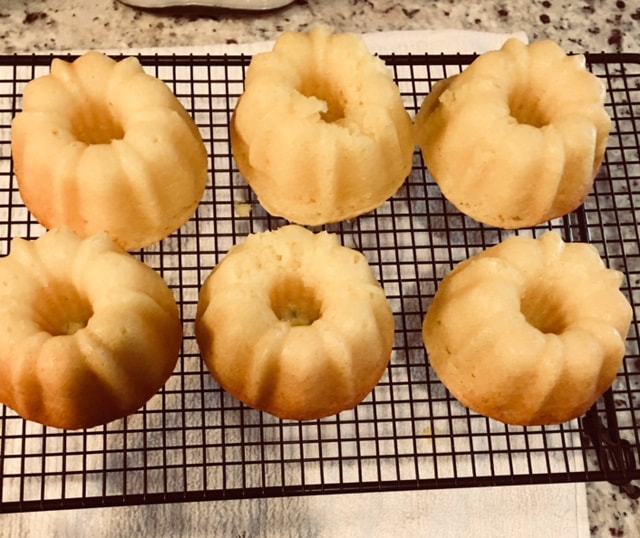 Before turning the cakes onto a cooling rack, it would be wise to let them sit in the pan for a few minutes. As you can see, I made a boo boo with one of the cakes because I was so excited to see how my minis would turn out! While they cool, it would would be a perfect opportunity to make your cream cheese icing. I used my moms recipe which is just cream cheese, powdered sugar, and vanilla or almond extract. So easy, and lets be serious, why fix something that isn't broken by adding all kinds of fancy ingredients. Keep it simple! 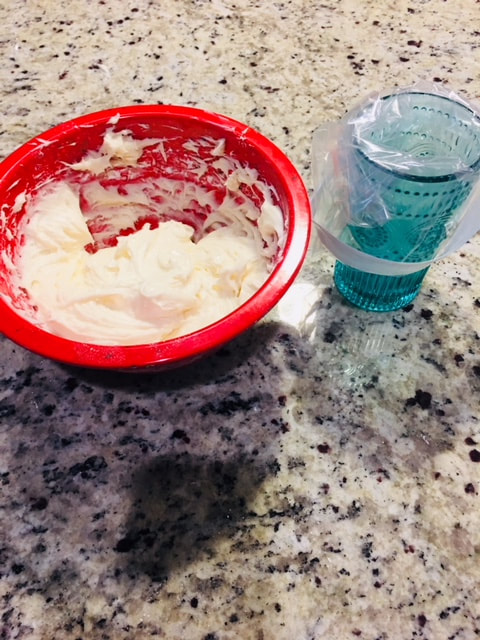 After your icing is mixed smoothly, I just put a zip lock bag into a cup, filled it with icing, and cut the corner! I mimicked the way that fancy Bundt cake place does it. It certainly wasn't as pretty but around my house, the cakes wouldn't last long either way! 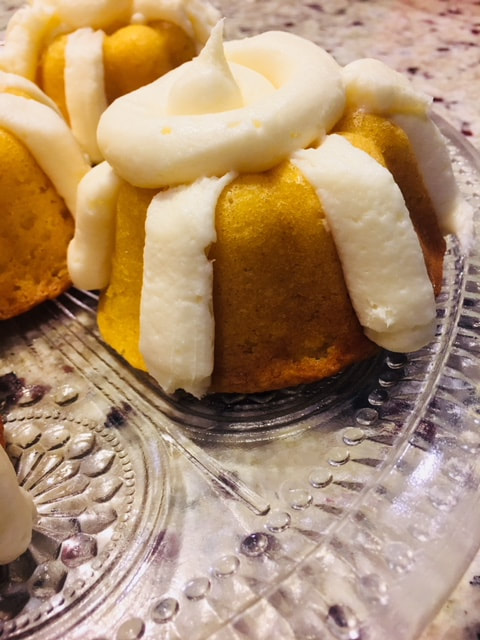 Ingredients: 1 box of White Cake mix 1 3.5 box of vanilla pudding mix 1/2 cup of sour cream 3/4 cup of melted butter or oil 1/4 cup of water 3/4 cup of thawed orange juice concentrate 1/2 cup of sugar 1 teaspoon of vanilla or almond extract My mom's frosting: 2 8oz blocks of room temperature cream cheese 3 cups of powdered sugar 1 tsp of vanilla or almond extract Directions: 1. Preheat oven to 350 degrees F. 2. Butter and flour your Bundt pan 3. In a large bowl mix all ingredients together- in no special order. Mix on high for about 3 minutes or so. I even used a whisk! 4. Pour into your pan. 5. Bake for 25-30 min for mini Bundt pan and 35- 40 for a regular size Bundt cake pan. Let sit in the pan for a few minutes, then invert onto a cooling rack. While the cake is cooling, make your icing! Whip your cream cheese, and then add one cup of sugar at a time or you will have a mess!! When the last cup of sugar is added, whip it and whip it good. Basically until the icing is smooth and creamy. Scoop all of the frosting out into a plastic zip bag and cut a hole at one of the corners and pipe it onto the cake! Don't forget a nice size dollop in the middle! Well there it is folks! In the end I feel like I received the better end of the trade off! My curtains and décor is hung up, I had the opportunity to use my new toy, enjoyed the day with my babies, and enjoyed this luscious mini Bundt after my husband also smoked a pork loin! It was a great Sunday! Catch me next week!!
|
Archives
April 2018
Categories |


 RSS Feed
